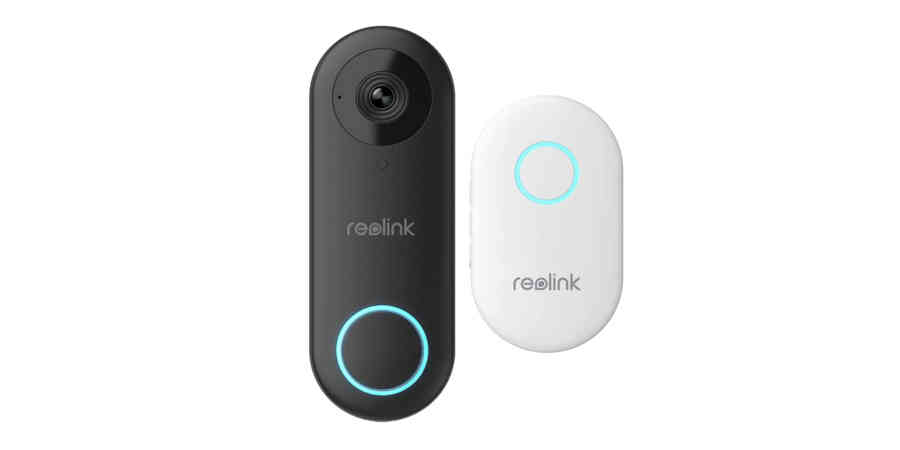
I wrote about my issues with the Ring video doorbell in the first part of this series of articles, and my intention to switch to Reolink’s new device.
I placed my order with Reolink in the early hours of Monday 5 June. The package arrived on the morning of 7 June – though I was still in bed and missed it (in part due to the Ring not sending chime alerts anymore), so they re-delivered on 8 June. Obviously, this is UK stock.
You will remember what I said in Part I about being an early adopter. I had emailed Reolink to confirm that the doorbell would connect to third-party equipment (they told me it would, and even provided a link to a guide on how to connect it to Surveillance Station, which is the security software I use). I also asked about being able to buy additional chimes.
The response to this was not what I’d hoped – but was what I had pretty much worked out for myself when I ordered: at this time, the doorbell only supports one chime unit. It’s not a showstopper, and I am certain that support for multiple chimes will be added in future firmware updates, since it is bound to be a popular user request.
The first important detail is its size. It is only 48mm wide, compared with the Ring’s 60mm. As a result, it will fit on the flat 50mm part of my uPVC doorframe on my house where bell pushes are supposed to go in the UK, instead of side-mounted on the porch wall using stacked wedges to get the correct FOV (field of view), which I had to do to install the Ring. The Reolink comes with a mounting plate and a 15° wedge (mounting screws are included). The wedge is so that it can be angled slightly to point towards the visitor instead of straight forward.
Ring seems to cater primarily for American customers, who can usually fit them anywhere convenient along wooden outside walls. In the UK, walls are usually made of brick, and doors are often recessed into porch ways and have quite narrow door jambs, beyond which it is brick. Even in new-builds, with doors that open directly on to the street, the jambs are still narrow. Obviously, screwing something into wood or uPVC is quite easy, whereas brick requires a hammer drill and Rawlplugs. The Ring doorbell doesn’t fit the standard UK door jamb (it’s too wide), and needs to be wall mounted in most cases, which is what I had to do in 2020, using multiple wedges to get a good viewing angle from a 90° position relative to the door. If you have a Ring doorbell, people know you have a Ring doorbell, because it is big. In my case, it was even more obvious. The Reolink doorbell, by contrast, is relatively discreet and fits on to the jamb.
Early adopter comment: right now, the Reolink comes in black. I know that they will do a white one at some point – they’re going to have to – but mine is black, and will go on a white uPVC doorframe. Again, this is not a showstopper for me, but bear it in mind.

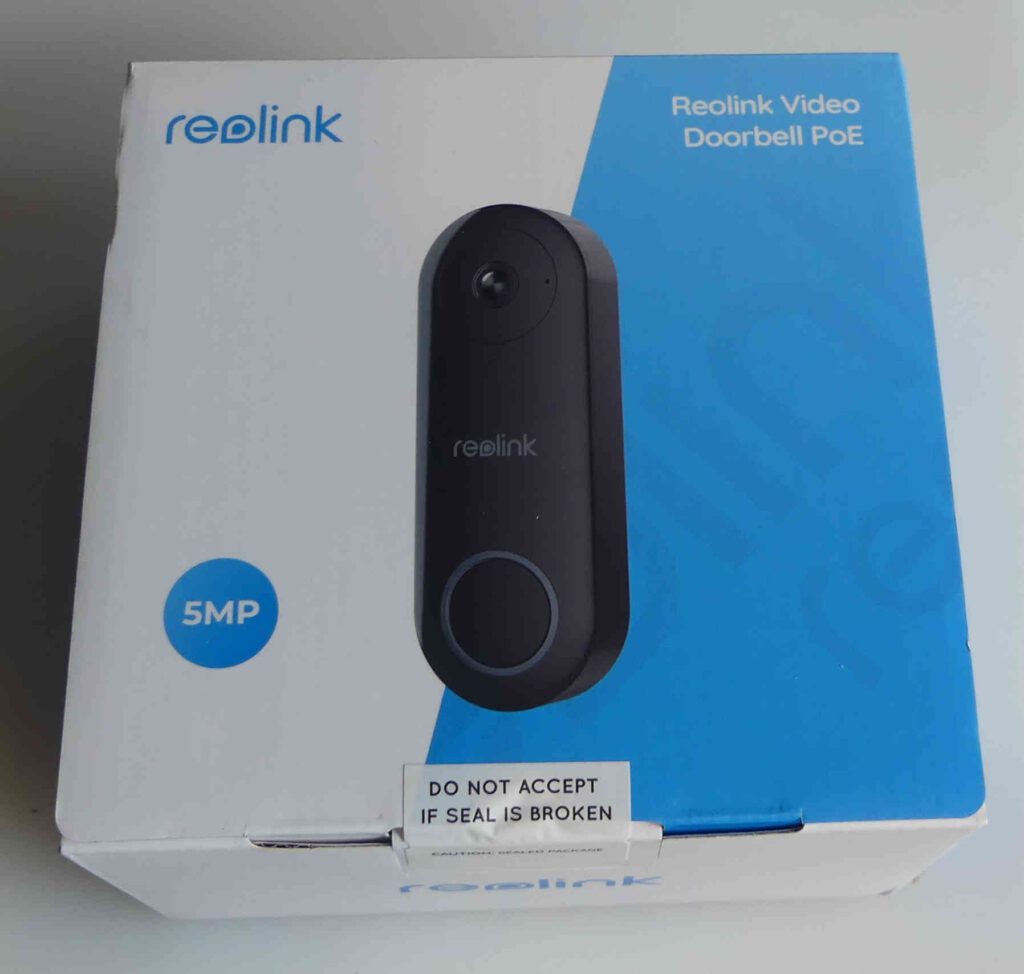
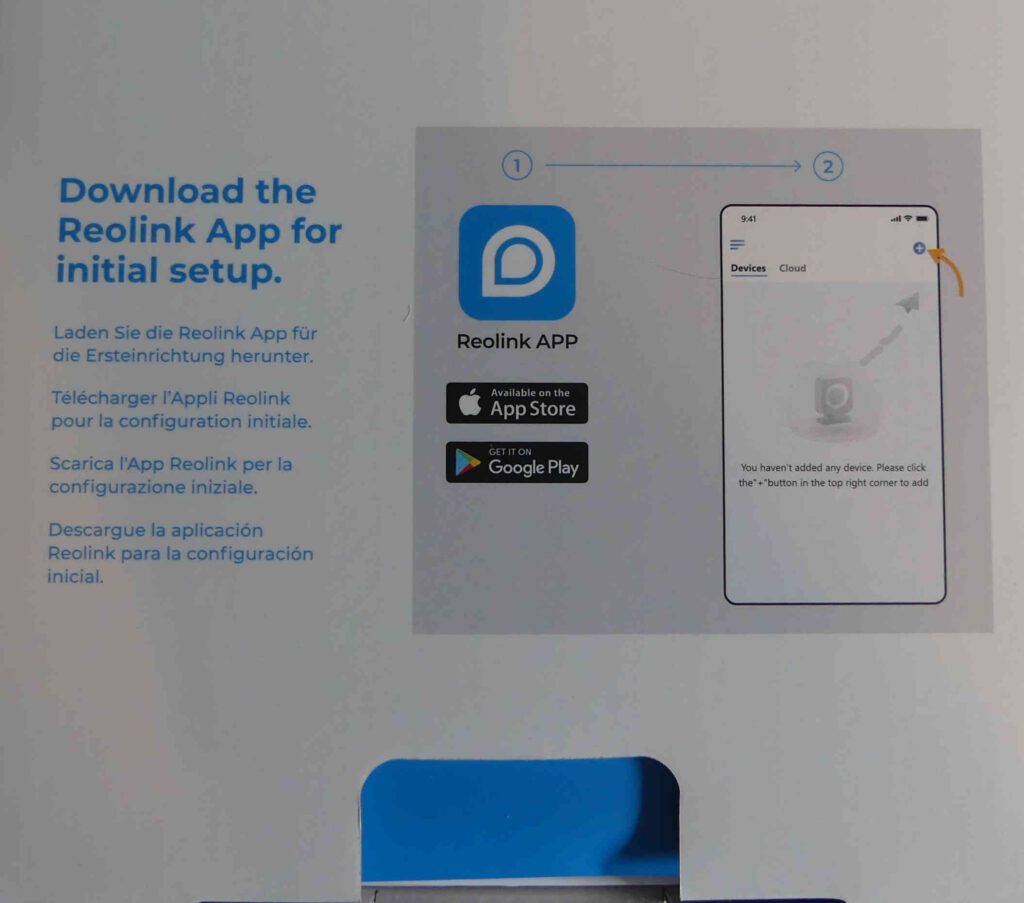
Unboxing: It comes in a neat box with a security seal. I draw your attention to the message on the inner lid – to download the Reolink app when you do the initial install. Any camera which has inbuilt security uses a similar method – you can’t just plug in your ethernet cable and expect it to work, because it is almost guaranteed not to (my experience installing Hikvision CCTV cameras taught me that).

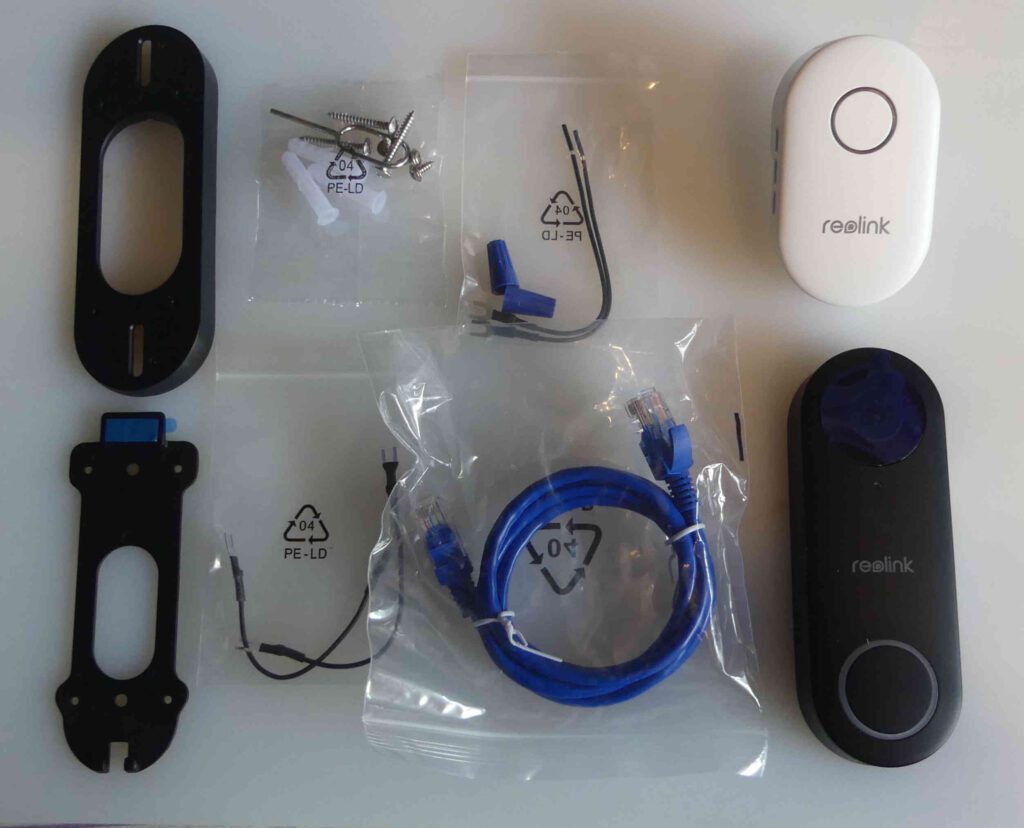
Inside, there is an envelope containing the instruction manuals for the bell and the chime. The doorbell and the chime unit are underneath this, and in the lower compartment you have a short ethernet cable, the mounting plate and optional 15° wedge, a pack of screws and Rawlplugs, and two packs containing spade-ended cables for powering it using a transformer (those will be surplus to my requirements).

Initial Setup: I downloaded and installed the Reolink app on my Android smartphone, and set up an account on it.
The next part was a simple three-step process.
- connect the camera to a PoE network switch
- add a device on the app
- plug in the chime
At each stage, there are clear on-screen instructions. Mine connected flawlessly first time. It was far less problematic than when I installed the Ring – which repeatedly refused to connect, and took multiple attempts to get the install process to run through to completion. And let me repeat for clarity: you need a PoE network switch or a PoE injector. A normal ethernet port does not supply power over ethernet.
Early adopter comment: right now, I have it powered using the supplied ethernet cable. This cable is somewhat more flexible than the ones I normally use, but it also has a shorter strain relief grommet. I will likely have to do a little careful trimming with a scalpel to shorten the grommets on my outdoor ethernet cable, because they are too long to get into the PoE socket on the doorbell as they are (they also cause problems when using waterproof ethernet enclosures).
So, I had a working doorbell system on my phone and with the chime.
Setting up with Synology Surveillance Station: Having the camera working through my network and accessible on Surveillance Station (SSS) was absolutely the most critical part, and the whole reason I purchased the Reolink. And it was where things didn’t go quite as smoothly as I’d hoped – at first.
I checked my router and found the camera’s IP address. It was quite a low number, but fortunately wasn’t conflicting with anything. Nevertheless, I logged into the camera’s settings and switched it to ‘static IP’, then chose a number in the range I use for my other CCTV cameras. I strongly advise you do this, since having dynamically assigned IP addresses has caused me headaches in the past (I know from experience that if a camera suddenly chooses the same IP address that Sky is using, then you lose Sky and have problems with the camera).
Normally, once an ONVIF camera has been established on the network, all you do in SSS is ‘add’ a new camera, it scans, and finds it. You then select it, enter the necessary details, it activates, and you’re done.
SSS could not find the Reolink automatically, no matter how many times I scanned. So I moved on to option #2 in Reolink’s helpful guide to setting up in SSS, and entered everything manually. This time, and after several further failed attempts, I managed to ‘authenticate’ the settings (that means SSS has made successful contact with the camera), saw a tantalising thumbnail, then after trying to activate it the camera showed as ‘disconnected’. And nothing I tried would make it connect.
I now resorted to Google. Reolink instructs you to choose HTTP and Port 80 when setting up, and to use the camera model RLC-510A. But I discovered on Reddit that others who had been early adopters had found that HTTPS and Port 443 works. When I tried again using those settings, BINGO – it connected.
I should also point out that you need to log into the camera’s dashboard via its IP address and change a few advanced settings in there – notably, activating HTTP, ONVIF, and RTSP.
Another piece of advice. Get things working on a desk in front of you before putting the camera in it’s intended location. You absolutely do not want to screw it on to a wall, only to find out you’ve got to get access to the back of it again.
Setting up the Desktop App: This is fairly straightforward. You simply download the Reolink app and install it on your PC/laptop.
Early adopter comment: the app doesn’t receive push notifications yet. It just shows what your camera can see. As I commented on another detail earlier, Reolink are simply going to have to introduce push notifications – which are already available on the wi-fi version of this camera. You have to accept these minor details if you’re an early adopter!
So all I have to do now is run the cable and position the doorbell where I need it. Right now, the doorbell is on extended test next to me while I run the cables.
I’ll link to Part III of this series once it is in place and working as intended.